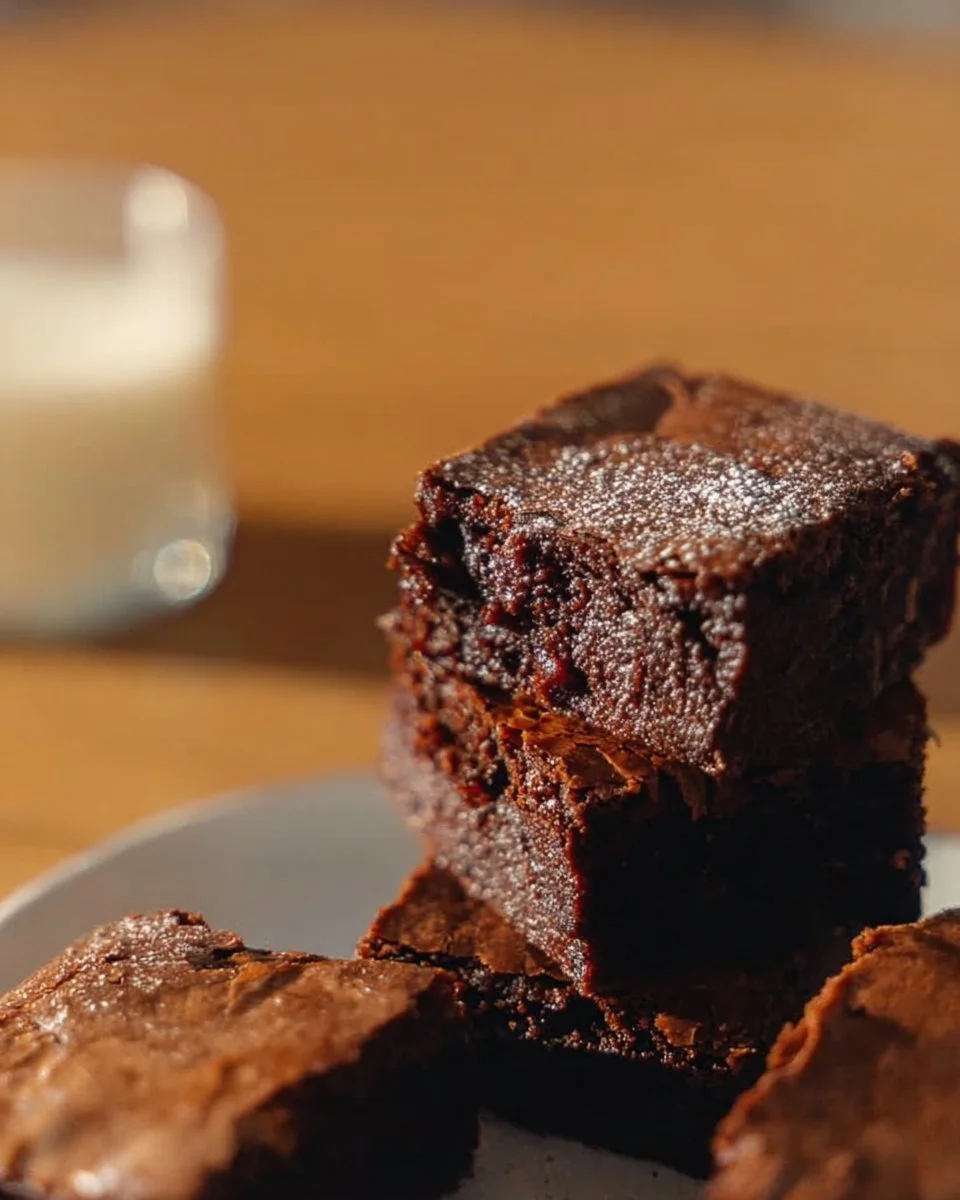
Brown Butter Brownies
I remember the first time I browned butter for brownies: the kitchen smelled like toasted caramel and chocolate, and the batter tasted deeper and almost nutty before it even hit the oven. These brown butter brownies take a classic fudgy bar and add a toasty, almost butterscotch note that lifts the whole dessert. People make them for cozy gatherings, potlucks, or when you want a small upgrade to a familiar favorite without complicated steps. If you like a fudgy, crowd-pleasing brownie with a grown-up flavor twist, these are for you—think of them as a chocolate hug with a toasty finish. For a playful, themed variation you can compare to, see this take on fudgy football brownies: fudgy football brownies.
Why you’ll love this dish
These brownies combine two things bakers love: deep chocolate richness and the toasty complexity of browned butter. The butter is cooked until the milk solids caramelize and release nutty aromas, which adds a subtle but noticeable flavor layer. They’re:
- Rich and fudgy, not cakey.
- Fast to make—no tempering of eggs or complicated techniques.
- Great for sharing at parties or for a quiet weeknight treat.
- Flexible: add chopped chocolate, chips, or a sprinkle of flaky salt for contrast.
If you want an easy crowd-pleaser that tastes fancy without fuss, brown butter brownies deliver.
How this recipe comes together
Overview — what you’ll do, in plain steps:
- Brown the butter in a light-colored pan until fragrant and golden.
- Melt the browned butter with dark chocolate to make a glossy ganache-like base.
- Whisk eggs and both sugars until thick, then combine with the warm chocolate.
- Fold in flour, salt, chopped milk chocolate and chips.
- Bake in an 8×8-inch pan until set but still fudgy in the center.
If you enjoy themed shapes or serving ideas, you might also like the playful presentation in this football brownie guide: football-shaped brownies.
What you’ll need
- 180g unsalted butter (3/4 cup + 1 tbsp)
- 250g dark chocolate, broken into pieces (1 cup + 1/4 cup + 2 tbsps) — use 60–70% cocoa for depth
- 3 large eggs, room temperature
- 100g light brown or dark brown sugar (1/2 cup, packed)
- 100g granulated sugar (1/4 cup + 3 tbsps)
- 1 tsp vanilla extract
- 100g plain/all-purpose flour (1/2 cup + 2 tbsps)
- 1/4 tsp salt
- 50g milk chocolate, chopped (1/4 cup)
- 50g milk chocolate chips (1/4 cup)
Notes and substitutions:
- For a dairy-free version, use a plant-based butter and dairy-free chocolate; results will be slightly different because browning behavior changes.
- To make them less sweet, swap half the milk chocolate chips for chopped toasted nuts (walnuts or pecans).
- Room-temperature eggs whisk more easily and give a slightly more aerated batter.
Step-by-step instructions
- Preheat the oven to 180°C (350°F). Grease and line an 8×8-inch baking tray with parchment, leaving some overhang to lift the brownies out easily.
- Cut the butter into pieces and place in a light-colored pan over medium heat. Stir constantly as it melts. Watch the foam form, then subside; keep stirring until the butter turns a deep golden-brown and smells nutty. Remove from heat immediately to avoid burning.
- Pour the hot brown butter over the broken dark chocolate. Let it sit for about 60 seconds, then stir until completely smooth and glossy.
- In a large bowl, whisk the eggs with both the brown and granulated sugars until the mixture thickens slightly and becomes a bit paler. Stir in the vanilla.
- Pour the warm chocolate-butter mixture into the egg-sugar mix. Stir gently until the batter is glossy and uniform.
- Fold in the flour and salt with a spatula. Mix just until combined—overmixing will aerate the batter and make the brownies cakier.
- Fold in the chopped milk chocolate and the milk chocolate chips. Scrape the batter into the prepared pan and smooth the top.
- Bake for 35–40 minutes. The edges should be set and the center slightly jiggly but not liquid. A toothpick inserted near the center should come out with moist crumbs, not wet batter.
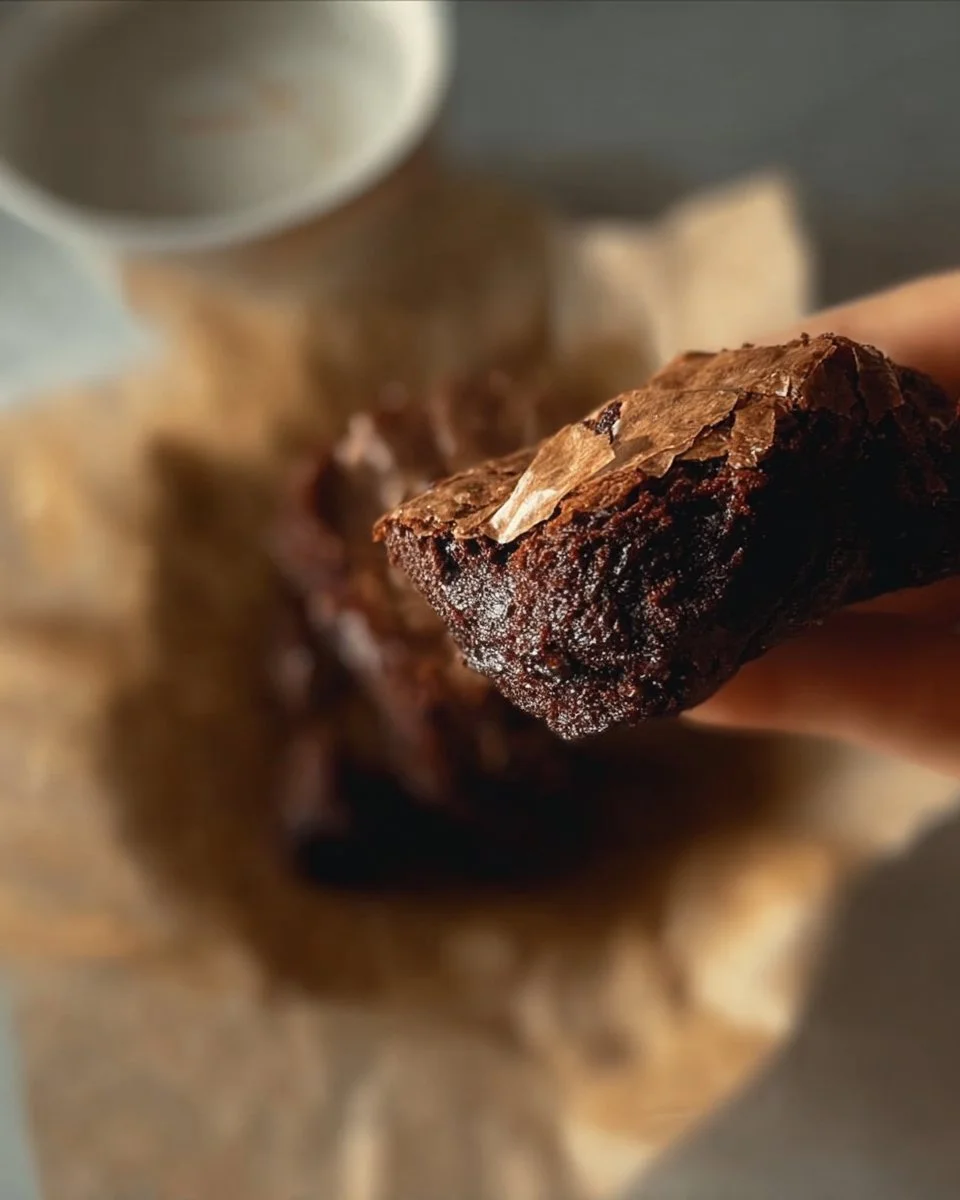
- Let the brownies cool completely in the pan on a wire rack before lifting them out and slicing into squares.
Serving suggestions
- Serve warm with a scoop of vanilla ice cream and a sprinkle of flaky sea salt for contrast.
- For a brunch or coffee service, plate small squares with espresso or a strong brewed coffee.
- Add a drizzle of salted caramel or a dusting of cocoa powder for a more elegant presentation.
- Cut into small bite-size pieces for dessert platters or into larger squares for an indulgent after-dinner treat.
Storage and reheating tips
- Room temperature: Store in an airtight container for up to 2 days. Keep away from direct sunlight or heat.
- Refrigerator: Wrap tightly or place in a sealed container for up to 1 week. Bring to room temperature before serving to soften the texture.
- Freezing: Wrap tightly in plastic wrap and then foil, or place in a freezer-safe container for up to 3 months. Thaw overnight in the refrigerator and bring to room temperature before serving.
- Reheating: Warm individual squares in a microwave for 10–15 seconds or in a 160°C (325°F) oven for 5–8 minutes. Watch carefully so they don’t dry out.
- Safety: Because these contain eggs, follow the same expiry and storage rules you would for other egg-containing baked goods—don’t keep at room temperature for extended periods in hot climates.
Extra advice
- Use a light-colored pan to brown butter more easily; with a dark pan it’s harder to see the color change.
- Don’t walk away while browning butter—milk solids can go from golden to burnt quickly.
- Let the chocolate mixture cool just slightly before adding to eggs; you want it warm, not hot, to avoid scrambling.
- If you prefer a fudgier center, check at 30–32 minutes; for slightly firmer, bake the full 40 minutes.
- Swap half the dark chocolate for a high-quality couverture for an even silkier texture.
Creative twists
- Salted-pecan brown butter brownies: fold in 1/2 cup toasted chopped pecans and sprinkle flaky salt on top after baking.
- Espresso boost: add 1 tsp instant espresso powder to the batter for a deeper chocolate note.
- Orange-chocolate: fold in 1 tsp finely grated orange zest with the vanilla for a citrus lift.
- Gluten-free: substitute a 1:1 gluten-free flour blend and watch texture; you may need a tablespoon more liquid.
- Vegan option: use a flax egg (1 tbsp ground flax + 3 tbsp water per egg) and vegan butter, and choose dairy-free chocolate; results will be denser.
Common questions
Q: How long do these brownies take to make, start to finish?
A: Active hands-on time is about 25–30 minutes (browning butter, melting chocolate, mixing). With bake and cooling time, expect 1.5–2 hours total.
Q: Can I brown the butter ahead of time?
A: Yes. Brown the butter, cool, and store in the fridge for up to 3 days or freeze for up to a month. Rewarm gently until liquid before using.
Q: My brownies came out cakey—what went wrong?
A: Likely overmixing after adding flour or overbaking. Mix just until flour disappears and remove from the oven when the center is still slightly jiggly.
Q: Can I use all dark chocolate instead of some milk chocolate chips?
A: Absolutely. Using all dark chocolate will make the brownies less sweet and more intense. Reserve some chopped chocolate for swirls or chunks if you want texture contrast.
Q: Are these safe to eat with raw eggs?
A: The eggs are not cooked separately; they are incorporated into a batter that is baked. Do not taste raw batter. If you’re concerned about salmonella, use pasteurized eggs.
Conclusion
If you want a brownie that tastes familiar but a little elevated, the nutty, caramel notes from browned butter are a small step with big payoff. For another brown-butter-forward perspective and a slightly different approach, check out this recipe from Brown Butter Brownies – Broma Bakery.
PrintBrown Butter Brownies
Rich and fudgy brownies enhanced with the nutty flavors of browned butter, perfect for parties and cozy gatherings.
- Prep Time: 30 minutes
- Cook Time: 35 minutes
- Total Time: 65 minutes
- Yield: 16 servings
- Category: Dessert
- Method: Baking
- Cuisine: American
- Diet: Vegetarian
Ingredients
- 180g unsalted butter (3/4 cup + 1 tbsp)
- 250g dark chocolate (1 cup + 1/4 cup + 2 tbsp)
- 3 large eggs, room temperature
- 100g light brown or dark brown sugar (1/2 cup, packed)
- 100g granulated sugar (1/4 cup + 3 tbsp)
- 1 tsp vanilla extract
- 100g plain/all-purpose flour (1/2 cup + 2 tbsp)
- 1/4 tsp salt
- 50g milk chocolate, chopped (1/4 cup)
- 50g milk chocolate chips (1/4 cup)
Instructions
- Preheat the oven to 180°C (350°F). Grease and line an 8×8-inch baking tray with parchment.
- Cut the butter into pieces and place in a light-colored pan over medium heat. Stir constantly until it turns deep golden-brown and smells nutty. Remove from heat.
- Pour the hot brown butter over the dark chocolate and let sit for 60 seconds, then stir until smooth.
- In a large bowl, whisk the eggs with both sugars until slightly thickened. Stir in the vanilla.
- Pour the warm chocolate-butter mixture into the egg-sugar mix and stir until glossy and uniform.
- Fold in the flour and salt until just combined. Do not overmix.
- Fold in the chopped milk chocolate and milk chocolate chips, then scrape the batter into the prepared pan.
- Bake for 35–40 minutes, until the edges are set and the center is slightly jiggle but not liquid.
- Let cool completely in the pan before slicing into squares.
Notes
For a dairy-free version, use plant-based butter and dairy-free chocolate. Add chopped toasted nuts for less sweetness.